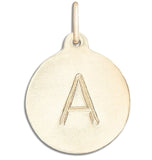
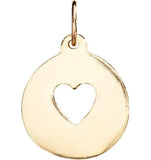
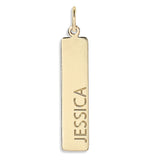
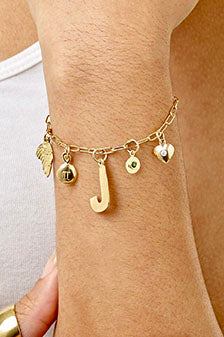
While running her families motel and raising her kids Helen Ficalora pursued her dream of jewelry making. She worked through the night creating beautiful designs. After years and years of hard work she would go on to build a successful jewelry company all from her kitchen table.
TREE BRANCH ART PIECE: How about adding a unique art piece to your bedroom? We have a beautiful piece of art you can make yourself using tree branches! What you’ll need: black marker, pliers, paintbrush, nylon thread, large scrap of cardboard (approximately 2 ½ feet long by 2 feet high), 20 to 25 short tree branches (1 inch diameter or less, 18 inches long or less), craft paint (4 different shades of one color), large tree branch (2 – 3 inches in diameter and 2 ½ feet long). Try to choose branches that are completely dead and broken off of the tree for a bit. (If it snaps when you try to bend it then that means it’s a dead branch.) Avoid branches that have rough-textured bark and try to get the smooth braches instead. First, you have to clean the branches. Scrub them with warm water to remove the dirt and let it dry completely. Next, draw a template using a large piece of cardboard. Sketch out the shape you would like to make the art piece using pencil. Then, draw over the sketch using a permanent marker. Lay the branches over the template starting with the thickest branch in the middle. Lay them vertically. If the branches are longer than the shape of the template, use the pliers to break the branch. Then, paint the branches with an ombre effect. Start painting with the darkest color on the bottom of the branches, painting all the way around the branch. Paint the second darkest color above the color you just did. Let the colors overlap slightly so they blend together. Repeat this for the second lightest color and the lightest color. Tie the branches to a hanging branch, and then adjust the string spacing. And now you have a pretty design to add color and texture to your walls!
WATERCOLOR COFFEE MUGS: Have you started your holiday shopping yet? Why not try making a watercolor coffee mug?! What you’ll need: One mug (can get a nice clean white one at the dollar store), nail polish, toothpick, and Tupperware or a tin baking pan (deep enough to dip the mug). First you need to fill the tub with warm or hot water (if you use cold water the polish dries up right away). Pour a small amount of nail polish on top (one or two drops). Swirl it with the toothpick and then dip the mug in the water and pull it out right away. Set the mug on a paper plate to dry. Even with the warm water, the polish dries past on top of the water, so you need to work quickly. Do one color at a time and layer more colors on top of each other if you would like. If you don’t like how it looks, you can clean it off right away with nail polish remover. Hand wash these mugs to keep them looking pretty!
METALLIC ROPE THROW BASKET: One of our favorite things about fall is how cozy of a season it is. We just love throwing on our cashmere sweaters and snuggling under our favorite throw blankets. If you have lots of throw blankets it can be nice to have storage for them. Here is what you’ll need: a round laundry basket (you can get one at the dollar store), 1 jar of Americana Décor Metallics in copper, about 85 feet of Jute rope, 1 yard felt (fleece or muslin), hot glue gun and glue sticks, utility knife and paint brush. Start by attaching the felt to the base of the laundry basket, folding and gluing pleats as you go with the hot glue gun. Cut off excess material around the side and glue the seam up to the top of the basket. Don’t cut off the felt at the top because you’ll use it later. At the base of the basket, hot glue the rope and wrap it all around the basket, stopping when the top is tucked just under the lip of the basket. Fold the felt back so that it’s hanging outside the basket. Use a utility knife and cut off the top rim of the laundry basket. Tuck the material back into the basket for your basket liner. You can color block the throw basket with your paint for an ombre effect. Start the color block about a quarter of the way down from the top. Dry brush the copper paint, working your way down the base of the basket. Gradually lighten the paint at the top, and make sure it’s darker at the bottom. Now you have yourself the perfect throw blanket storage!